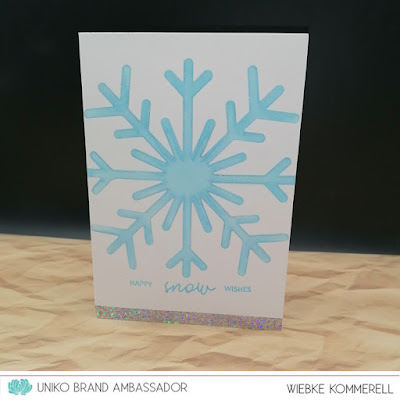
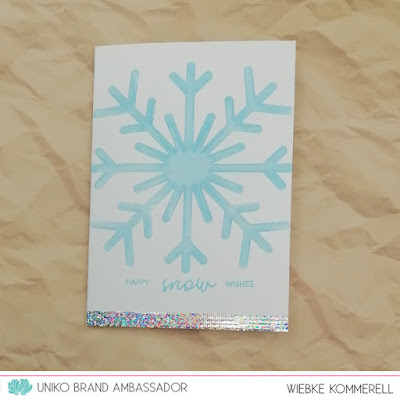
In meiner zweiten Karte habe ich die "Large Snowflake #2" als Stencil verwendet.
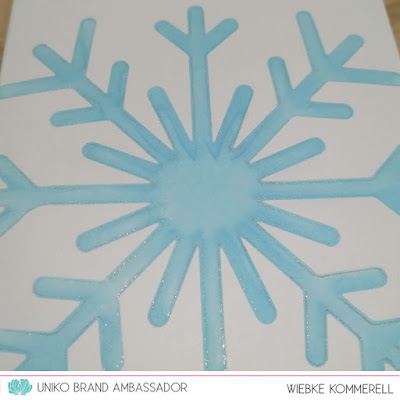
Zuerst habe ich mit einem klaren Glitzer-Gelstift die Konturen der Schablone nachgezeichnet und anschließend die Flocke selbst mit Hilfe eines Blending Brushes gefärbt.
Der Text stammt wieder wie der der ersten Karte aus dem Set "Christmas Wishes".
Als Abschluss habe ich das Funkeln der Flocken-Ränder aufgegriffen und den unteren Kartenrand mit einem silbernen Hologramm-Tape verziert.
:-:-:-:-:-:-:-:-:-:-:-:
In my second card I used the "Large Snowflake #2" as stencil.
First I traced all edges with a clear gelly roll pencil, then I added ink to the flake-area with a blending brush.
The sentiment is the same I used in the first card from the set "Christmas Wishes".
To finish the card I added a silver holographic tape to the bottom of the cardfront, to repeat the sparkling edge of the flake.
 |
| K1-1634 - Sparkling Snowflake |
 |
| K1-1634 - Sparkling Snowflake |
 |
| K1-1634 - Sparkling Snowflake |
 |
| K1-1634 - Sparkling Snowflake - Detail |
Uniko: Stencil: Large Snowflak #2 & Stamps: Christmas Wishes /
Colours & other stuff:
folded cardbase A6 - white / smooth Cardstock - white /
Ranger: Distress Oxide Ink - tumbled glass / Sakura: Gelly Roll - clear star, /
Sparkling greetings from Wiebke


Lovely snowflake cards Wiebke. X
AntwortenLöschenLovely idea to use a glitter pen around the edges x
AntwortenLöschen